Denture repair kits provide an affordable solution for fixing broken or cracked dentures at home, offering materials like resin and instructions for quick, safe repairs․
Overview of Denture Repair Kits
Denture repair kits are convenient, at-home solutions designed to fix broken or cracked dentures quickly and affordably․ These kits typically include repair resin, instructions, and tools to address minor damages, such as cracks, breaks, or loose teeth․ They are user-friendly, allowing individuals to repair their dentures without professional assistance․ The kits usually contain a combination of liquid and powder components that, when mixed, form a strong, durable bond․ Many kits also include cleaning supplies and applicators to ensure a smooth repair process․ While they are ideal for temporary fixes or minor adjustments, they may not be suitable for severe damage․ Always follow the provided instructions carefully to achieve the best results and ensure safety․
Importance of Proper Denture Repair
Proper denture repair ensures the longevity and functionality of dentures, maintaining oral health and comfort․ Neglecting repairs can lead to further damage, discomfort, and difficulty chewing or speaking․ Using a denture repair kit correctly prevents issues like loose teeth or uneven alignment, which may cause sores or infections․ Properly following kit instructions ensures a strong, durable fix, reducing the risk of additional breaks․ Timely repairs also prevent costly professional interventions, saving time and money․ By addressing damages promptly and effectively, individuals can maintain their quality of life and confidence in their dental health․ Always prioritize proper repair techniques to uphold the integrity of the denture and overall well-being․
Step-by-Step Instructions for Using a Denture Repair Kit
Using a denture repair kit involves gathering materials, cleaning the denture, preparing resin, applying it carefully, and allowing it to cure for a strong, lasting fix․
Gathering Materials
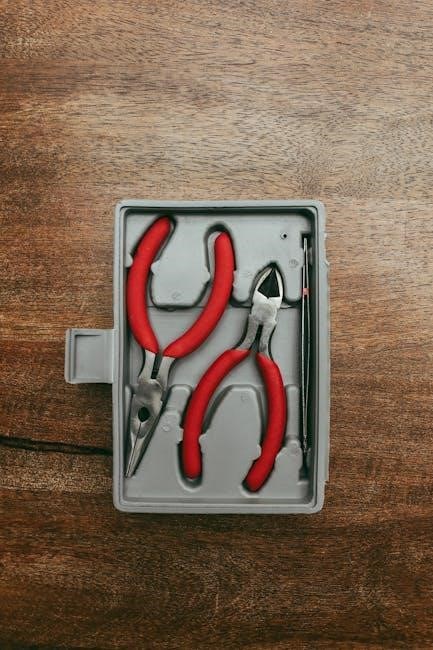
Before starting the repair, gather all necessary materials from the denture repair kit, such as repair resin, liquid, powder, a mixing cup, spatula, gloves, and sandpaper․ Ensure you have a clean, dry workspace and a container for mixing the resin․ Additionally, have a toothbrush or small brush for applying the mixture and a clamp or holder to keep the denture pieces aligned․ Check for any additional tools like polishing cloths or carbide burs for smoothing rough edges․ Organize these materials within reach to streamline the repair process and avoid delays․ Always refer to the kit’s instructions for a full list of required items․ Proper preparation ensures a smooth and effective repair experience․
Cleaning and Drying the Denture
Cleaning and drying the denture is crucial for a successful repair․ Use mild soap and warm water to gently scrub the denture, removing any debris or adhesive residue․ Avoid using harsh chemicals or abrasive materials that could damage the denture․ Rinse thoroughly and pat dry with a soft cloth․ For optimal adhesion, ensure the surface is completely dry and free of moisture․ If necessary, use compressed air or a clean, dry brush to remove any remaining particles․ A clean, dry surface ensures the repair resin adheres properly, leading to a stronger and more durable bond․ This step is essential for achieving professional-like results with your denture repair kit․
Preparing the Repair Resin
Preparing the repair resin is a critical step in the denture repair process․ Begin by carefully opening the repair kit and extracting the liquid and powder components․ Mix equal parts of the liquid and powder on a clean, flat surface using the provided spatula․ Stir thoroughly for about 30 seconds until the mixture reaches a smooth, consistent paste․ Avoid over-mixing, as it may cause the resin to harden too quickly․ Ensure the mixture is free of lumps for even application․ Proper preparation ensures the resin adheres effectively to the denture, creating a strong and durable repair․ Follow the kit’s instructions for precise measurements to achieve the best results․
Applying the Repair Resin
Once the repair resin is prepared, apply a small amount to the damaged area using the spatula․ Spread it evenly, ensuring complete coverage of the crack or break․ Press the broken pieces together firmly to align them perfectly․ Hold them in place for about five minutes to secure the bond․ Be careful not to apply too much resin, as excess can create unevenness․ Use a clean cloth to gently wipe away any overflow․ Allow the resin to harden undisturbed for the recommended time, usually a few minutes, before handling the denture․ Proper application ensures a strong, lasting repair, restoring both function and appearance to your denture․
Allowing the Resin to Cure
After applying the repair resin, allow it to cure undisturbed for the recommended time, typically 5 to 10 minutes, depending on the kit․ Ensure the denture is placed on a clean, flat surface and avoid touching or moving it during this period․ Some kits may require a longer curing time, so always follow the instructions provided․ Once cured, the resin will harden completely, creating a strong bond․ Be patient and avoid rushing this step, as proper curing ensures the repair’s durability․ If necessary, check the kit’s guidelines for specific curing times or conditions, such as avoiding moisture or heat exposure during the process․
Final Touches and Polishing
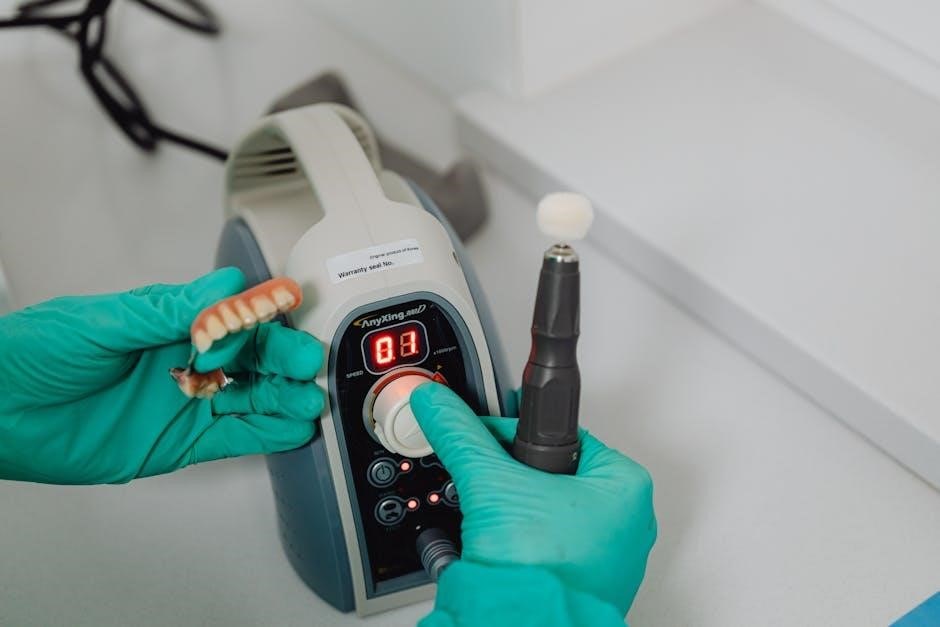
Once the repair resin has cured, inspect the denture for any rough edges or excess material․ Use fine-grit sandpaper or a file to gently smooth these areas, ensuring a comfortable fit․ Avoid sanding too aggressively, as this may damage the repair or the denture itself․ After smoothing, rinse the denture with warm water to remove any dust or debris․ For a polished finish, use a soft cloth and mild soap to buff the repaired area, blending it seamlessly with the rest of the denture․ This step ensures the repair is both durable and aesthetically pleasing․ Always avoid using harsh chemicals or abrasive materials that could harm the denture․ Once polished, the denture is ready for use, providing a natural look and feel․
Preparation Steps Before Repair
Preparation involves aligning broken pieces, roughening surfaces for better adhesion, and ensuring a completely dry environment to ensure a successful repair․
Aligning the Broken Pieces
Properly aligning the broken pieces is crucial for a successful repair․ Start by carefully matching the edges of the fractured areas to ensure they fit together seamlessly․ Use a small amount of pressure to hold the pieces in place, making sure they are perfectly aligned․ If the break is uneven, gently press the pieces together to guide them into their original position․ Holding the pieces steady for a few moments will help maintain alignment before applying the repair material․ This step ensures the repair material bonds correctly, restoring the denture’s integrity and functionality․ Proper alignment prevents further damage and ensures a natural fit․
Roughening the Surface for Better Adhesion
Roughening the surface where the repair will be applied is essential for ensuring proper adhesion of the repair material․ Use a fine-grit sandpaper (120-200 grit) to gently rub the area, creating micro-scratches on the denture’s surface․ This process helps the repair resin bond more effectively․ Be careful not to apply too much pressure, as this could damage the denture further․ After sanding, remove any dust or debris with a clean, dry cloth․ A roughened surface ensures a stronger and more durable repair, reducing the risk of the resin detaching over time․ This step is critical for achieving a long-lasting fix․
Ensuring a Dry Environment
A dry environment is crucial for successful denture repair, as moisture can interfere with the adhesive properties of the repair material․ Before starting the repair, ensure the denture and surrounding area are completely dry․ Use a clean, lint-free cloth to pat the denture dry, paying extra attention to the broken or cracked areas․ Avoid breathing directly onto the denture, as this can introduce moisture․ If necessary, use a hairdryer on a low setting to dry the area thoroughly․ Once dry, handle the denture carefully to prevent re-moistening․ Working in a humidity-controlled room can also help maintain dry conditions․ Ensuring a dry environment is vital for achieving a strong and durable bond․
Additional Tips for Successful Repair
Follow kit instructions carefully, mix materials thoroughly, and avoid common mistakes․ Work in a well-ventilated area and handle materials safely for the best results․
Mixing the Repair Material Correctly
Properly mixing the repair material is crucial for a strong bond․ Follow the kit’s instructions to combine the liquid and powder in the correct ratio․ Ensure the mixture is smooth and free of lumps․ Use the provided spatula to mix thoroughly on a clean surface․ Avoid overmixing, as it can create air bubbles that weaken the repair․ Apply the mixture immediately after mixing, as the material begins to set quickly․ If unsure, consult the kit’s guidelines or manufacturer’s instructions for precise measurements and techniques to achieve optimal results․
Avoiding Common Mistakes
When using a denture repair kit, avoid common errors like misaligning broken pieces or applying too much resin․ Ensure the denture is clean and dry before applying the repair material․ Overmixing the resin can create air bubbles, weakening the bond․ Avoid rushing the curing process; let it set as instructed․ Using the wrong ratio of liquid to powder can lead to a poor repair․ Do not attempt to repair severely damaged dentures without professional guidance․ Following the kit’s instructions carefully minimizes errors and ensures a durable fix․ Proper preparation and patience are key to achieving a successful repair and maintaining the denture’s functionality․
Safety Precautions
Always handle repair materials with care, avoiding skin contact․ Work in a well-ventilated area and follow kit instructions closely to ensure safe and effective denture repair․
Handling Repair Materials Safely
When using a denture repair kit, always handle the materials with care to avoid accidents․ Wear protective gloves and work in a well-ventilated area to prevent inhaling any fumes from the resin or other chemicals․ Avoid direct contact with skin, as some components may cause irritation․ Ensure the workspace is clean and dry to prevent slipping or spilling of materials․ Keep the repair kit out of reach of children and pets to avoid unintended exposure․ Follow the instructions provided with the kit closely, and take note of any specific safety warnings․ Properly dispose of any leftover materials according to the manufacturer’s guidelines․ If unsure about any step, consider consulting a professional for assistance․
Understanding When to Seek Professional Help
While denture repair kits can fix minor cracks or breaks, certain situations require professional intervention․ If the denture is extensively damaged, such as multiple breaks or missing teeth, a DIY repair may not be sufficient․ Additionally, if the repair material does not bond properly or the denture remains unstable after repair, consulting a dentist or prosthodontist is essential․ They can assess the damage and provide a more durable solution, ensuring proper fit and functionality․ Ignoring major issues can lead to further damage or discomfort, making professional help the safest and most reliable option for long-term results․ Always prioritize professional care for complex repairs to maintain oral health and comfort․
Denture repair kits offer a convenient and cost-effective solution for minor fixes, but proper use and understanding of limitations are crucial for successful and safe outcomes․
Final Thoughts on DIY Denture Repair
DIY denture repair kits can be effective for minor fixes, offering convenience and cost savings․ However, users must strictly follow instructions to avoid further damage․ Proper preparation, such as cleaning and aligning broken pieces, is essential for a successful repair․ Mixing materials accurately and allowing sufficient curing time ensures durability․ While these kits are useful for temporary fixes, they may not address structural issues․ If damage is extensive or recurrent, consulting a professional dentist is advisable to prevent complications․ Balancing DIY convenience with professional expertise ensures optimal denture functionality and longevity․